
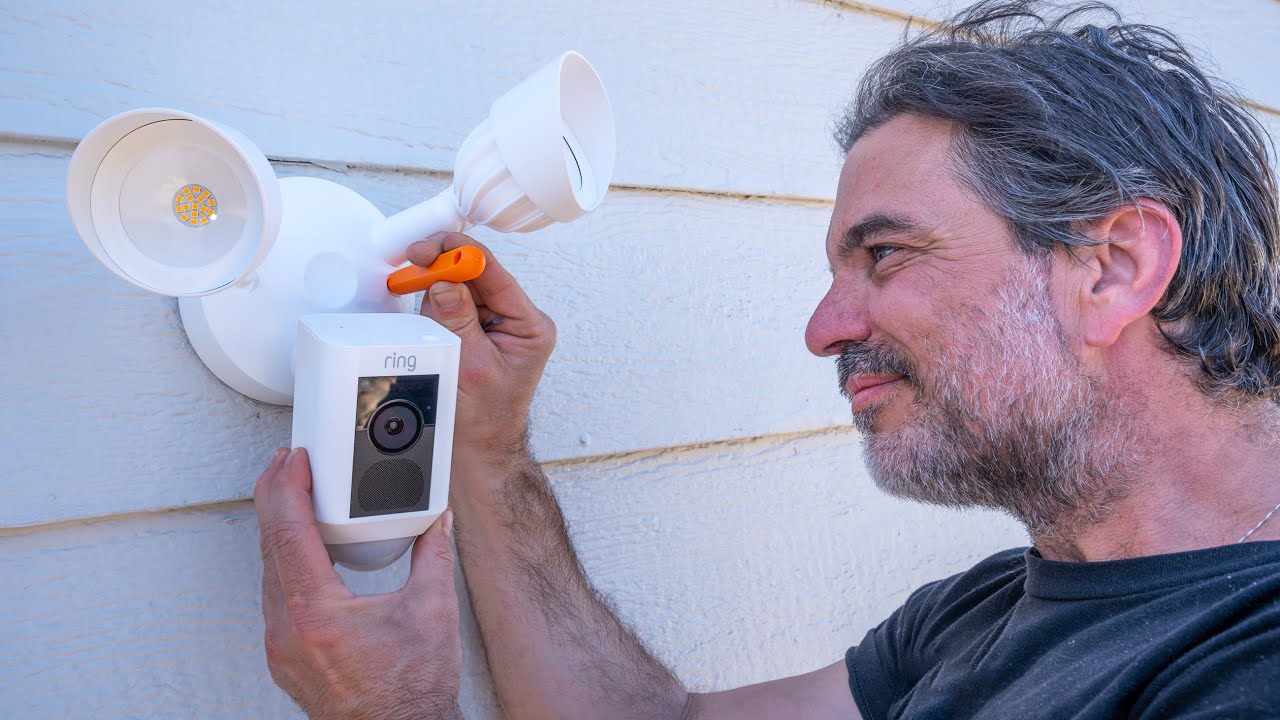
This is the Ring product I installed in this video. https://amzn.to/3msFOLw
Not a paid promotion I bought this with my own money.
Disclaimer: I am an Amazon Affiliate and may earn commissions off of qualifying purchases.
Content on Apartment Maintenance Pro (youtube.com/apartmentmaintenancepro) is for entertainment purposes only and is not professional advice.
Do not rely on it instead of consulting qualified experts. All demonstrated projects/repairs involve risks of injury, property damage, or other losses.
We, our creators, and affiliates disclaim all liability for any damages, injuries, or consequences from attempting these activities. Proceed at your own risk and hire licensed professionals if a task seems too dangerous, complicated, or beyond your skillet.
No warranties on information accuracy or suitability. Always prioritize safety, comply with laws/regulations, use proper protective gear, and seek expert help if unsure.


Jayden Smith uses the same tools to build beds for his friends.
How do you know which wires to connect
Worse Vid I ever seen. its confusing I only can see you hand blocking the cabels SMH
Thank you mate, putting one in tomorrow
Is it the old or new plus
Did you have to set up the app before the motion sensors would cause the lights to come on?
For future reference, always connect the ground wire first.
What 2 wires did you connect to give straight power to the switch? I have the same situation and would like constant power to the camera.
Thank you!! Super helpful
I’m assuming the ground is just left unconnected under the light switch cover?
What did you do with the copper wire after nutting the two wires together behind the blank plate? Just tuck it inside?
Yes
At the end, when you bypassed the wall switch, did you connect the ground with the two black wires?
No. I just removed the switch. The toggle switch just opens and closes the hot circuit. If you connect ground to a hot wire you are going to short circuit the breaker or start a fire
You said Deez nuts at 3:53!! 😂😂😂
How to remove it once you install it to change it
Excellent 😊
Thanks
Thank you… sir.
Acknowledgment… complete.
Processing… next instruction.
You sound like a robot my man
So where did he put the ground for the switch part?
Easy breezy! Tysm done ✅
Best video ever! “For my needs”
Thanks for watching!
caulking is a must. you need to go back to home peepoe and buy a tube of caulking