Check out this jig the guys made- it’s used to make 9” blocks for framing a gable roof overhang.
I’m going to show you how to frame one of these overhangs on our sample roof.
This is what the gable end of a roof looks like.
The diagonal board on the outside is called a rake, and the horizontal board a fascia.
I start by cutting two boards the same length and pitch as the last rafter or truss- then I make a mark on them every 16” inches.
Now I need to cut some 9” blocks to go between the two boards.
Nine inches plus the 3-inch thickness of the two boards will give me a total overhang of 12 inches.
When building an entire house, you need a ton of these blocks, so using a jig is much faster than marking and cutting each one separately.
Here’s the finished gable ladder- it gets nailed directly on to the last rafter or truss of the gable.
Next, we install the fascia board.
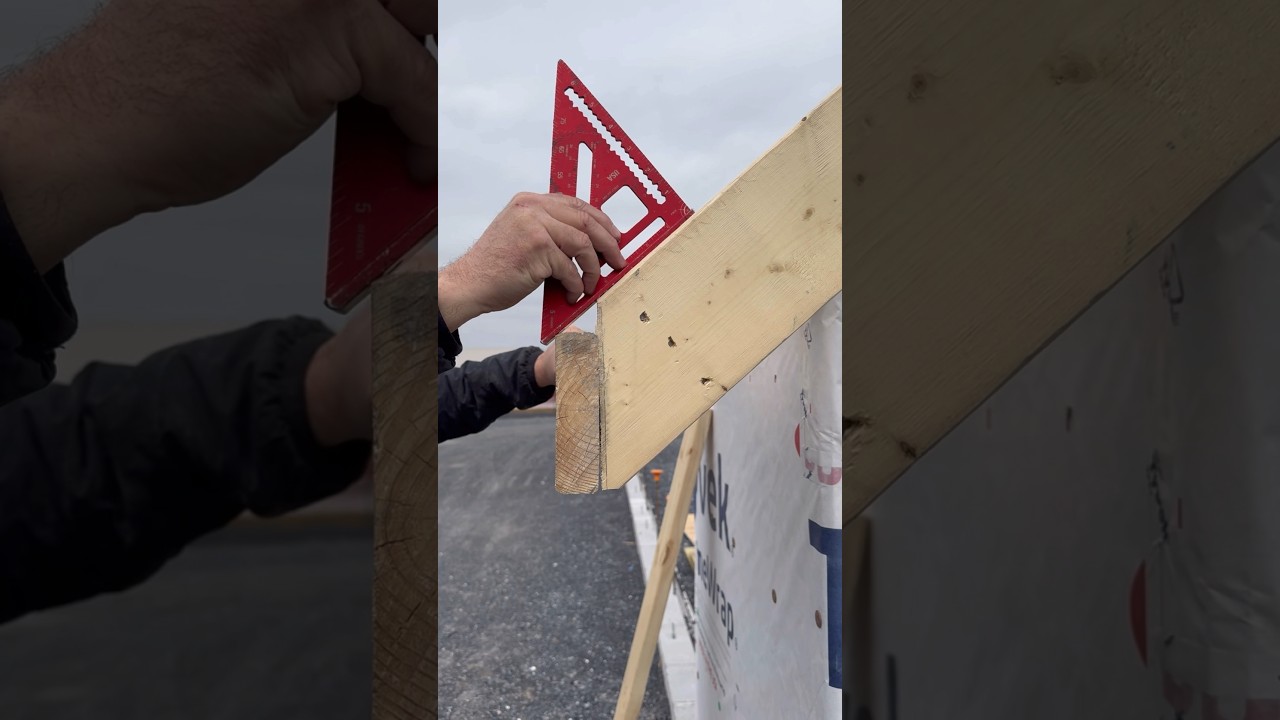
I use my speed square to adjust the fascia so that it planes out with the roof pitch- this way it works out with the roof sheathing.
It’s important to plane the fascia on each rafter tail or truss as you go.
Now we’re ready for the roof sheathing- I prefer 5/8” over ½”.
The sheathing helps to tie everything together- including the overhangs.
Let me know in the comments if you’ve ever used a jig to speed up a job. @hausplans
#build #howto #carpentry #framing #construction #roof #gable #diy #contractor #tools #jig


Look nice to 9″ finish 12″ overhand, good tutorial thanks.
Thanks for watching
Im a machinist. Im still an apprentice but we make jigs all the time so speed up jobs or fixtures. Sometimes it just makes things easier and the company i work for pays 25 bucks per fixture that helps us do our work
Plywood is upside down
Yes it is
Guaranteed to sag in a few years